Colors and bitwise operators

I found this very interesting post called “Hex colors & bitwise operators” on www.tracestatement.com a while back and I’ve been meaning to blog about it.

ActionScript

  1. // From hex value to r,g,b values
  2. var hex:uint = 0xFF8811;
  3. var r:uint = rgb >> 16;
  4. var g:uint = rgb >> 8 & 0xFF;
  5. var b:uint = rgb & 0xFF;
  6.  
  7. //From r,g,b values to hex value
  8. hex = (r << 16) | (g << 8) | b;

This tiny bit of code allows you to rapidly subtract the Red, Green and Blue values from a hexadecimal colour code. Once you have the R, G, B bits you can then manipulate them and once done convert them back to a single Hex value.

An important thing to remember is bitmasking, this can be used to switch a set of bits either on or off.

Augmented Reality

This seems to be the new buzz word on the web.

After seeing a couple of examples from Boffswana and Toyota I wasn’t that convinced. The response usually isn’t too good and the quality seems to lack a lot.

I printed out the markers on A4 and gave it a try. Since A4 isn’t that sturdy the marker got distorted and both examples had a lot of trouble picking it up. Also I tried it at night in the study with a single light on. This resulted in a glare on the marker and of course this interfered with the recognition. The low light conditions didn’t help much either, it seems a low(er) contrast really throws the marker recognition off. All in all AR software seems to be quite sensitive to imperfections.

Of course this could stop me from trying something myself and see why exactly it is so sensitive.
So what I did is combine the FLARToolkit with Flint particles.

Augmented Reality test

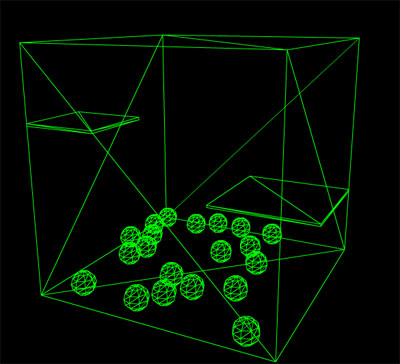
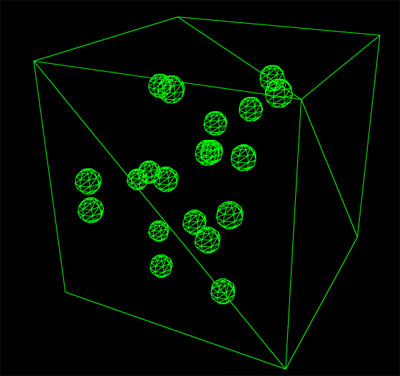
[Click the image above to run the example, I’ve used the same marker as the Boffswana example.]

If you run my test, you’ll see that it’s quite sluggish as well, you’re lucky if you get 6+ frames per second. This is due to the marker detection method ( FLARSingleMarkerDetector.detectMarkerLite() ). Sometimes this method takes up to 1300 ms to detect the marker, on average it takes about 150 ms.

The Flash community has always been really fast on picking new technolgy up, but I’m afraid this is a little bit too high end for Flash at the moment.

Some possible solutions:

  • Glue the printed marker to a piece of cardboard to get it a bit more steady so it won’t be bent as much and is easier to pick up by the AR software.
  • Marker detection doesn’t work that well with low light conditions. When I was at FlashCamp Seb (from PV3D) had a good idea. Just process the camera image, make it black and white and crank up the brightness and contrast.
  • As for processing speed, maybe something clever with pixel bender? Could Alchemy help?

Flash Camp London

13.30 – 14.00 Keynote
Serge Jespers (Adobe)

14.00 – 14.30 Work / Play
Seb Lee-Delisle (Plugin Media / PV3D)

15.45 – 16.30 Scripting with AS3
Mike Chambers (Adobe)

16.30 – 17.00 Spore Microsite
Richard Dean (Creative Lead – Lightmaker)

17.00 – 17.30 Custom Chrome in AIR
James Whittaker (Front-end technical architect / Adobe Community Expert)

18.15 – 19.00 Flash CS4
Lee Brimlow (Adobe)

19.00 – 19.45 Flex workflows in CS4
Serge Jespers (Adobe)

Custom graphic for Google maps polyline

I’ve been looking into the question wether or not it is possible to use a custom graphic for polylines (and/or polygons) in Google Maps. The result so far is very promissing and the answer is yes!

Click to launch

NOTE: right click and save as.. then run, as the gmaps API key used is not for this domain.

The feet are taken from a MovieClip and repeated for the length of the line.

I’ve achieved this by implementing the IPolyLine and IOverLay Interface. It took quite some figuring out to determine what each function was meant to do.

TBC…

TODO:

  1. Multi point line
  2. Exact line fill
  3. Flag for toggling image stretching / repeating
  4. Fixing a bug with Event dispatching

Metaballs

This week I’ve been working on creating a liquid effect in Flash. After a little research and a relapse to my got old 3D days I remembered a principle called ‘Metaballs‘ or ‘Iso surfaces‘. This is a nice way to replecate fluid dynamics in a 2D or 3D environment. So after some web browsing I found a nice implementation in AS3 by Szataniol. The only problem with this implementation was that it lacked alpha, which I needed to be able to apply some filters for a more realistic effect. This was easily solved by adding an extra render pass to calculate the mask. I’ll post the code for that below.

I hooked up the ‘renderer’ from Szataniol to the Box2D physics engine and starting messing around. I ended up making a couple of different versions:

I’ve set up my Main class in such a way that I can easily switch settings to create the different effects by using a different Model class.

[insert class diagram…]

TBC…

WOW limits reached

When trying to extend the example from yesterday I ran into the limitations of the WOW-engine.

There are no rigid bodies! 🙁 So The example above, where the ‘shelves’ are supposed to be static, won’t work. However, version 2 is in alpha, so hopefully I can give that a shot soon enough.

3D Physics with PV3D + WOW

Today I did a quick test to see how easy it is to get PV3D running with WOW (physics engine) and it is amazingly easy! The new Papervision BasicView combined with WOW is so easy to use. The tutorials on the WOW website helped a lot too.


See it in action: http://ansuz.nl/toys/physics3d/main_01.swf

What I built is a cube as world bounds and some spheres who will be dropped in the cube at a random position. Every 10 seconds I reset the spheres so you’ll have something to lookat continuously.
I first build the 3D world and then based on the names of the objects in the 3D world I create the objects for the physics engine. (I want to work this out a little bit further so you can easily convert any 3D world into a fully-animated-physics-enable-3D-world)

There is a link to the source code for this test included at the bottom. Please note that this is very quickly drafted code, not cleaned and/or optimized. Feel free to use it for your own. 🙂

Links:
WOW Engine
PV3D + WOW 1
PV3D + WOW 2
My source code